The Cape with a Raglan Cut
Very, very easy garment to draft. The pattern is done from the basic block so it can be close fitted enough around the shoulder and follow the body shape nicely.
Follow the instruction and the video is at the end of that page for more fluency.
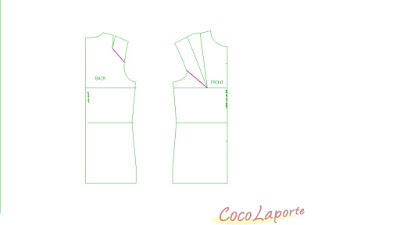
start from the basic dart block
The shoulder dart and the bust dart are pivoted into the armhole for more ease of arm movement.
There is no sleeve but the extra dart value counts.
Always make sure that the side seams and the shoulder seam dont change length.
Now , the most important thing : levelling the shoulders
Draw an horizontal line from the lower tip (here the back, it can be the front, depending on your original block)
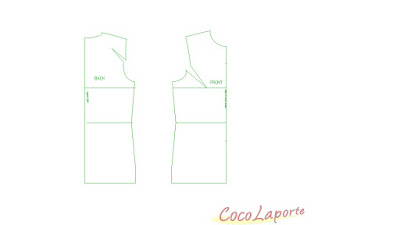
Lower the tip of the front shoulder so it reaches the horizontal line. The shoulder should have the same length and it can be done by pivotting the segment around the neckline-shoulder point.
Now the shoulders are levelled. It will allow total symetry on the curves drawn from that point down.
In our drawing, the cape will be very close fitted. You can draw it further away from the block to make the cape wider.
Mirror that line on the front.
Those curves are equal length because we have levelled the shoulder. It is important as those curves are part of the same seam.
Please, note that, if you have levelled the sides and the shoulder properly, the mirroring of the curve should be easy and be "spot on".
We can leave it here and drafa a simple cape with lateral seams
But we add Raglan cut openings for the arms
Draw the raglan lines.
Draw the front opening overlap line (2 cm away from the center front to position button and buttonhole.
Separate the pieces
Joining the two "sleeve parts".
Make sure than the bottom is the same as the original draft.
The overlap is minimal and at the arm level.
The top of the shoulder turns into a dart.
Round the outlines
And notch properly. The notches mark the end of the seam and the begining of the split to let the arm throught.
and the video :


